Sensory variables for the TRIK controller
Last updated
Was this helpful?

Last updated
Was this helpful?
Sensor variables are reserved variables for getting readings of the sensors connected to the corresponding ports.
These values can be assigned to variables and used in mathematical expressions.
Variable changes can be tracked as you go through the program in .
Variable
Description
An array of three elements containing accelerometer readings on the X, Y, and Z-axis.
buttonDown
buttonUp
buttonEnter
buttonEsc
buttonPower
buttonLeft
buttonRight
State of the buttons on the TRIK controller body: "Down", "Up",
"Enter", "Esc", "Power",
"Left", "Right".
Possible values: 0 — button not pressed. 1 — button pressed.
The color sensor readings by the camcorder in the center of the frame are the intensity of red, green, and blue, respectively.
They are only updated when the color sensor is turned on and initialized.
Possible values: 0 ... 255
encoder1 encoder2 encoder3 encoder4
Encoder readings on ports E1, E2, E3, E4 respectively.
gamepadButton1
...
gamepadButton5
The state of the buttons on the remote control from 1 to 5 respectively.
0 — the button is not pressed. 1 — button is pressed.
gamepadConnected
Remote control connection status.
0 — remote control is not connected. 1 — the remote control is connected.
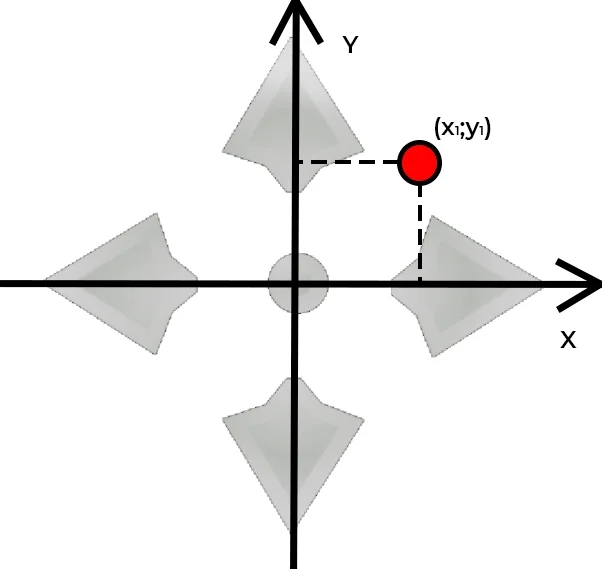
The coordinates of pressing the active areas on the remote control.
Each variable stores an array of two elements corresponding to the coordinate of the press point.
Possible values: From (-100, -100) to (100, 100).
(-101, -101) — if there is no press.
gamepadPad1Pressed gamepadPad2Pressed
gamepadWheel
Tilt value of the remote control (if it is connected and the "steering wheel" is enabled on it).
Possible values: -100 ... 100. -101 — if there is no data on the "rudder" position.
-100 — extreme left position. 100 — extreme right position.
An array of three elements containing the gyroscope readings on the X, Y, and Z-axis respectively.
The array of three elements containing the camera readings in the line sensor mode. The values are updated when the line sensor is enabled and initialized.
objectSensorX objectSensorY
The coordinates of the object detected by the video camera in relation to the center of the screen. The values are updated when the sensor is on and initialized.
Possible values: -100 to 100 (relative to the center of the frame).
objectSensorSize
The size of the object recognized by the video camera. The value is updated when the object sensor is activated and initialized.
Possible values: 0 to 100.
100 - object occupies the whole frame.
sensorA1 ... sensorA6
Readings of the sensors connected to the corresponding analog ports.
sensorD1 sensorD2
Readings from sensors connected to the corresponding digital ports.
An array of three elements containing accelerometer readings on the X, Y, and Z axis, respectively.
The color sensor readings by the camcorder in the center of the frame are the intensity of red, green, and blue, respectively. They are only updated when the color sensor is turned on and initialized.
From 0 to 255.
The coordinates of pressing the active areas on the remote control.
Each variable stores an array of two elements corresponding to the coordinate of the click point.
From (-100, -100) to (100, 100), (-100, -100) - top left corner of the active area. (-101, -101) - if there is no click.
An array of three elements containing the gyroscope readings on the X, Y, and Z-axis respectively.
An array of three elements containing camera readings inline sensor mode. The values are updated when the sensor is on and initialized.
lineSensor[0]
The deviation of the line from the screen center from -100 (leftmost line position in the frame) to 100 (rightmost line position).
lineSensor[1]
Crossing probability is defined as the percentage of points inside the horizontal stripe in the center of the frame that is recognized as a line, from 0 (no such points) to 100 (all points in the horizontal strip are recognized as a line).
lineSensor[2]
Relative line size, that is, the number of points in the frame defined as a line, from 0 (no line in the frame) to 100 (the whole frame is recognized as a line).
The state of the click on the left and right area of the remote control respectively. The coordinates of pressing can be found out with the help of the variables and . Possible values: 1 — the active area on the remote control is pressed. 0 — the active area on the remote control is not pressed.