Configuring the operation of a USB camera with a TRIK controller
PreviousTesting devices connected to the TRIK controllerNextCapturing images with TRIK camera and using them in TRIK Studio
Last updated
Was this helpful?

Last updated
Was this helpful?
To work with the USB camera, you must change the path to the script in the system-config.xml file on the TRIK controller.
This can be done with either of the two utilities:
.
.
1. to the controller using "Wi-Fi Access Point" or "Wi-Fi Client" mode.
2. Open .
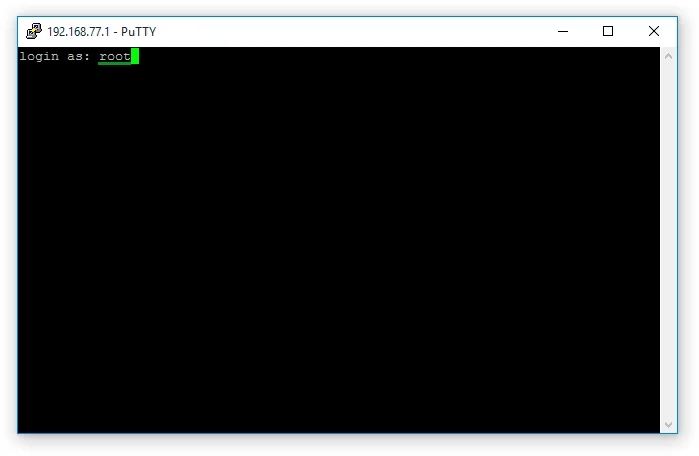
3. Launch the PuTTY utility. To do this, from the main menu, open Tools → External tools → PuTTY.
5. In the window that appears, enter root. Leave the "Password" field blank.
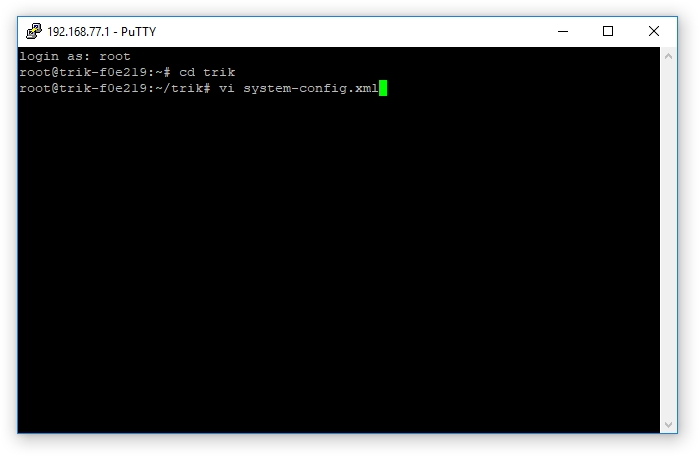
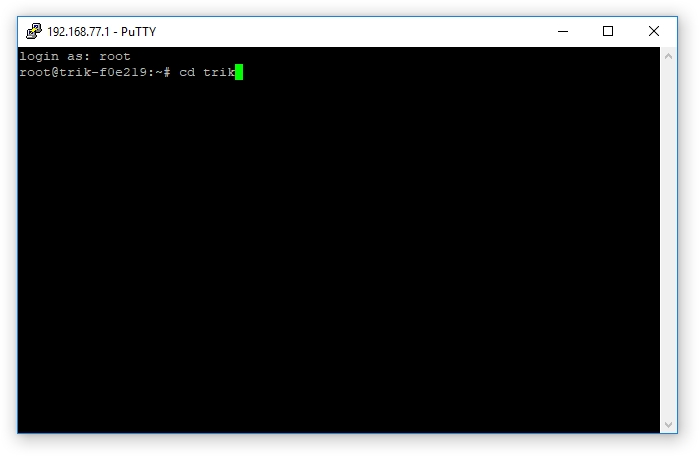
6. Enter the command cd trik to navigate to the corresponding directory
7. Use the vi editor to edit the file. To run it, type vi system-config.xml.
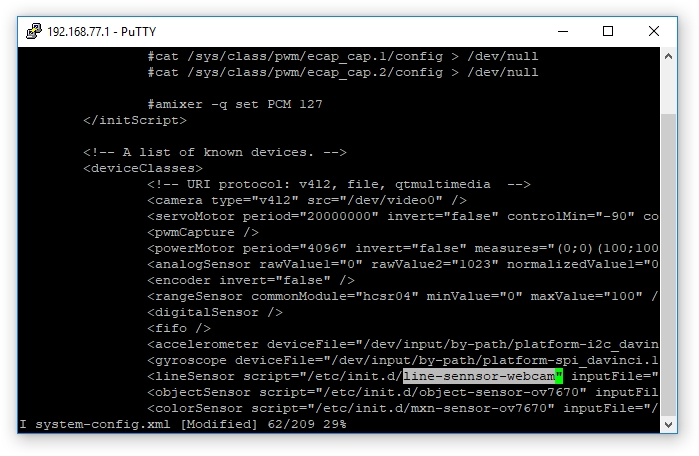
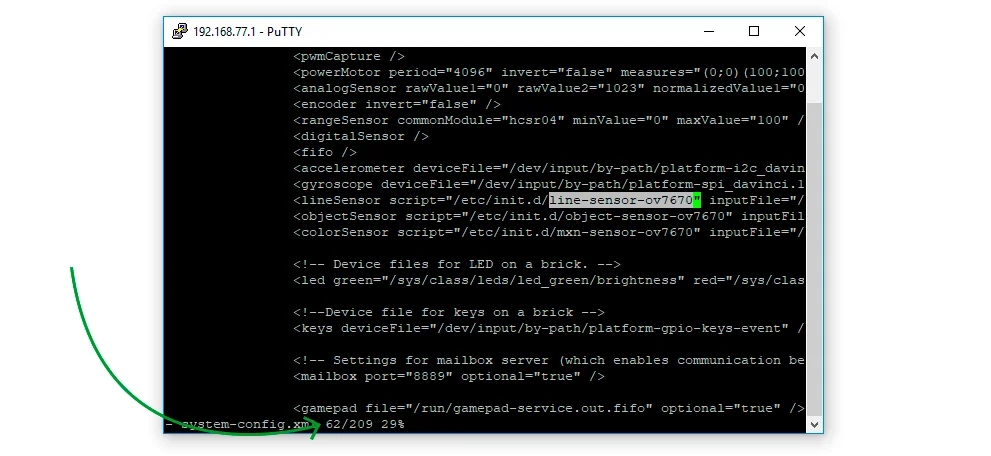
8. Use the arrow keys on your keyboard to move to line 62.
9. Press i to edit, find the script name line-sensor-ov7670 and correct it to line-sensor-webcam.
10. To exit edit mode, press "Esc".
11. Enter the command :wq and press "Enter" to save and exit the vi editor.
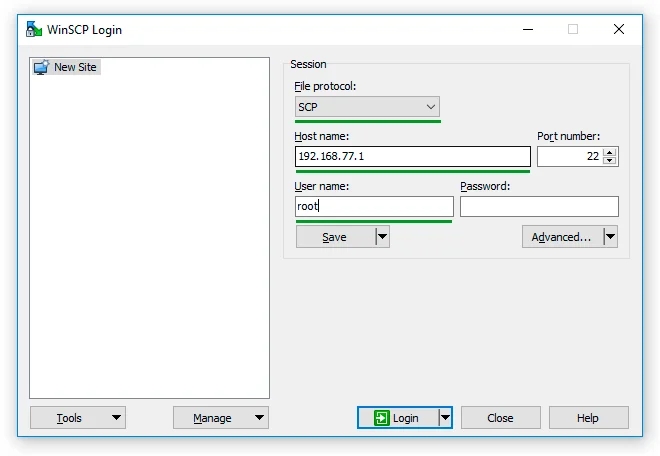
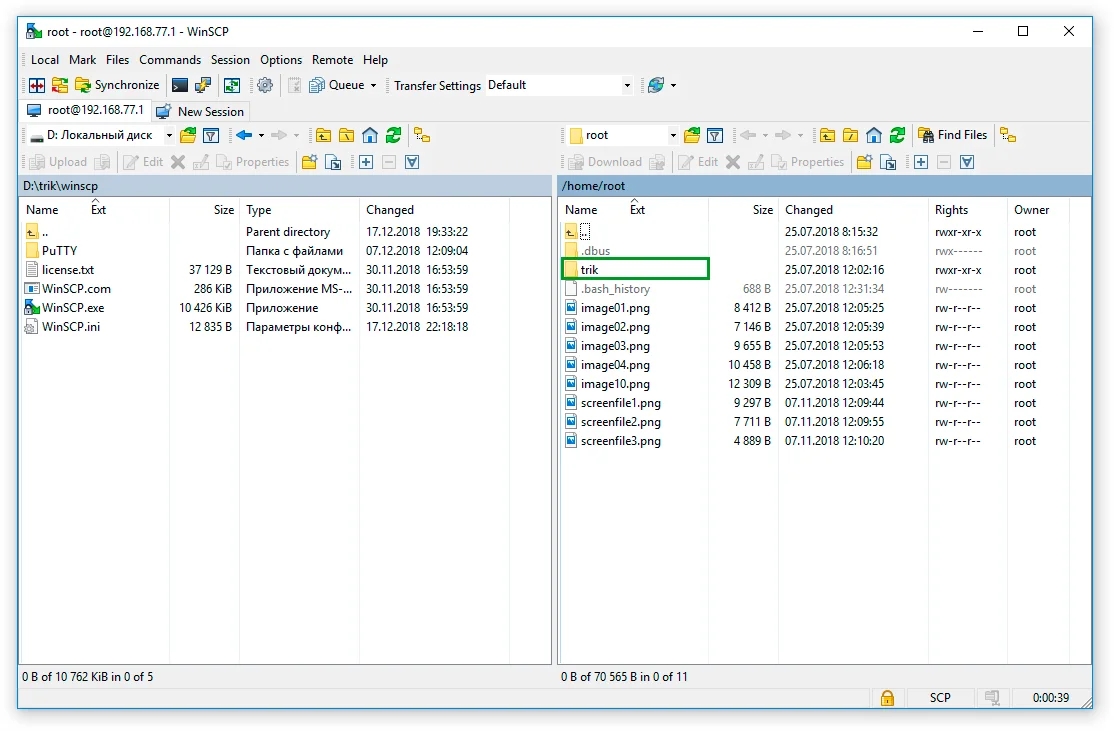
1. In the directory with the installed TRIK Studio, go to the winscp folder and run WinSCP.exe.
2. Fill in the data:
File protocol: SCP.
User name: root.
Leave the "Password" field blank.
3. Press the "Login" button.
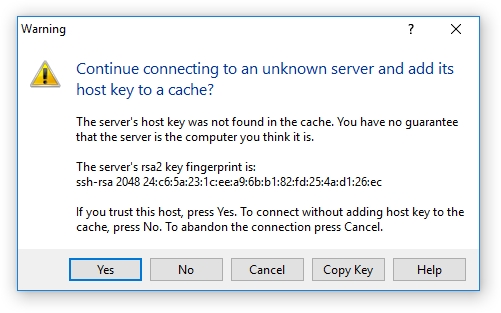
4. If the "Warning" window appears, click "Yes".
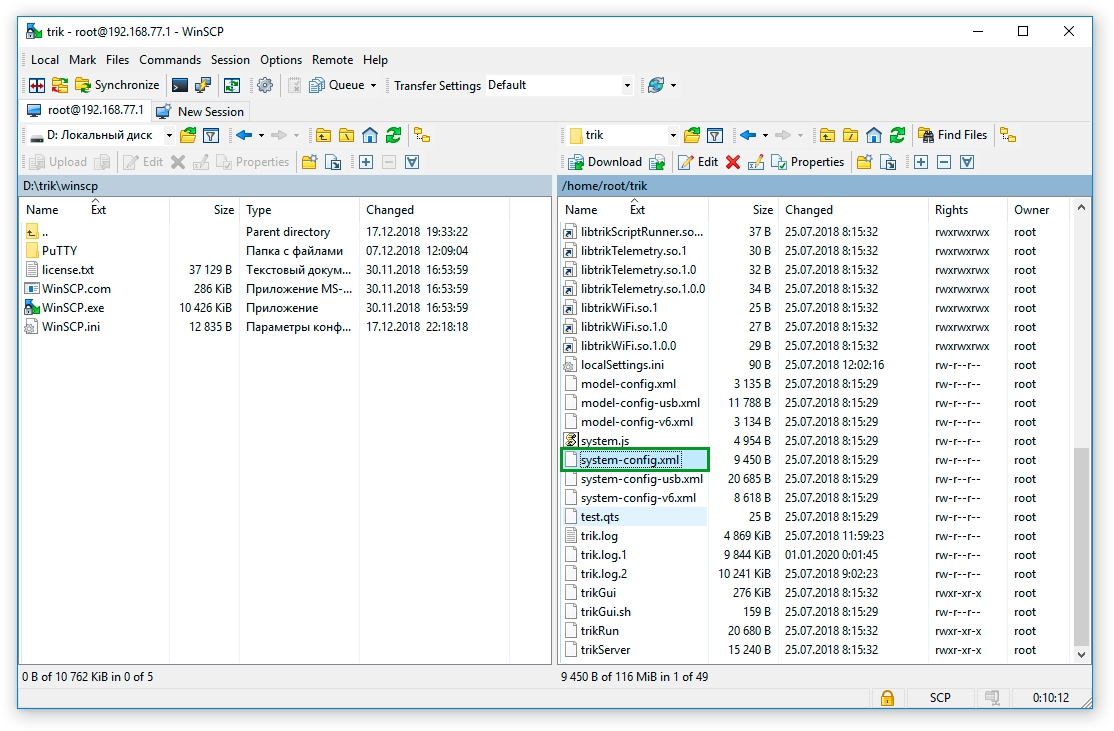
5. Navigate to the trik folder.
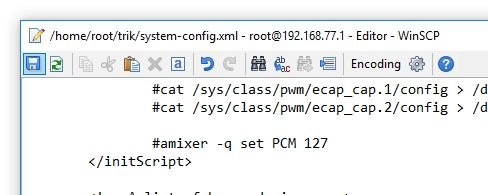
6. Find and open the system-config.xml file.
7. On line 62 of the file that opens, find the name of the script line-sensor-ov7670 and correct it to line-sensor-webcam.
8. Save your changes by pressing Ctrl+S or the "floppy" icon in the upper left corner, and close the editor.
4. Enter the (specified in the network parameters of the controller) and click "Open".
Host name — .